Change Master Maintenance
Overview
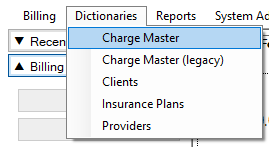
To launch Charge Master, select the Dictionaries menu, then select Charge Master.
Adding or Modifying
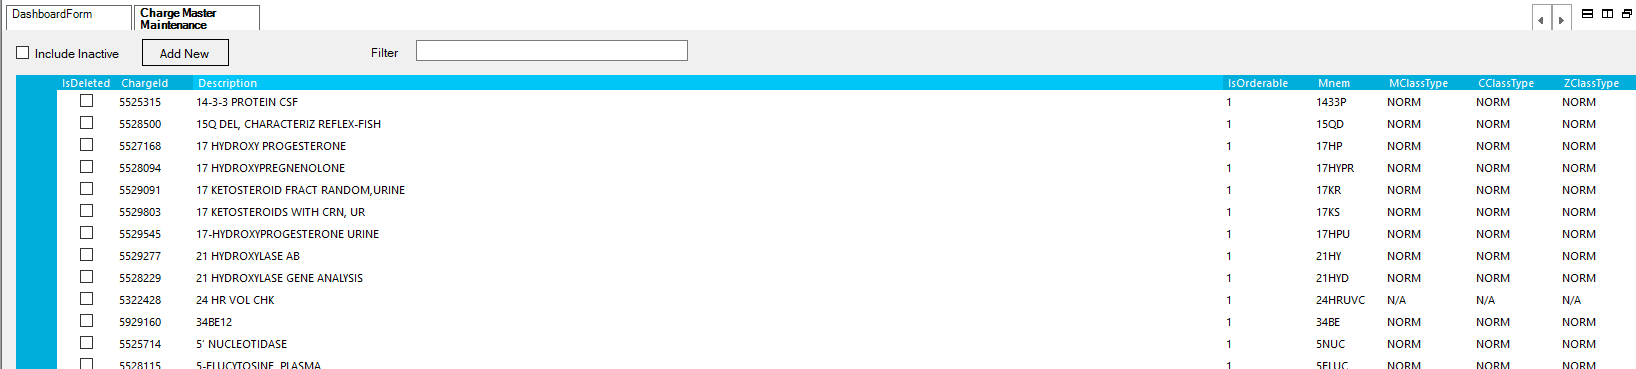
Double-click an entry to open it for editing, or click the Add New button to create a new CDM.
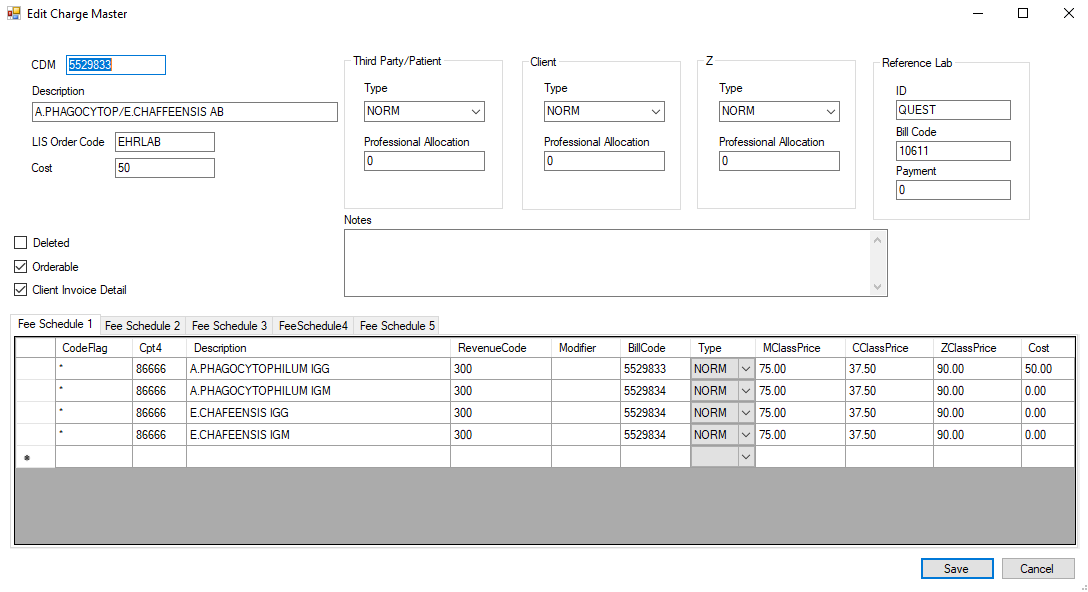
In the top part of the screen, enter the primary information for this CDM.
- CDM: The billing code received from the source system.
- Description:
- LIS Order Code: This is the legacy order code and is no longer used. It can be entered for historic reference.
- Cost: For cost tracking, enter the total cost of performing this test.
- Deleted: Check this flag to make the CDM no longer selectable for new charges.
- Orderable:
- Client Invoice Detail:
- Billing Types: Enter the type of charge for this CDM for each billing category.
- Type
- NORM: Normal charge
- SPLIT: Old functionality no longer used.
- N/A: This charge is used for informational/statistical purposes. It will not be sent on a claim.
- MISC:
- Third Party/Patient: For accounts billed to insurance or patient.
- Client: For accounts billed to a client.
- Z: Special pricing.
- Type
- Reference Lab: If this test is sent out to a reference lab, enter that information here.
- ID: The reference lab Id.
- Bill Code: The reference lab bill code.
- Payment: The amount paid to the reference lab for this test.
- Notes: Enter any notes for this CDM.
Fee Schedule Tabs
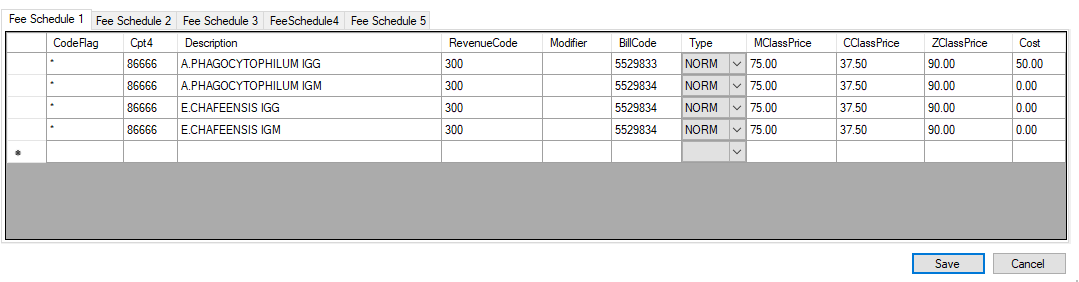
The Fee Schedule tabs are where specific billing lines are entered for this CDM. There are 5 tabs for the 5 Fee Schedules. The fee schedule used is determined by the client.
Note: Currently only Fee Schedule 1 and 3 are actively used.
Multiple lines can be added for a CDM for charges that drop multiple CPT codes (ie. profiles).
- Code Flag: Enter "*" by default.
- Cpt4: Enter the CPT code(s) for this CDM.
- Description: Enter the description for this CPT line.
- Revenue Code: the billing revenue code for this line.
- Modifier: If a modifier should always be added for this line, add it here.
- Bill Code: Enter a specific bill code (cdm number) for this line. It can be the CDM number if there is no different number.
- Type: The charge type for this line.
- NORM: normal charge
- TC: Technical component
- PC: Professional component
- N/A: This charge is not billed, and is only used for statistical purposes.
- MClassPrice: The third-party patient price for this charge line.
- CClassPrice: The client price for this charge line.
- ZClassPrice: The special handling price for this charge line.
- Cost: The cost for this particular line. Note: Typically the total cost of all lines should add up to the cost on the CDM header.
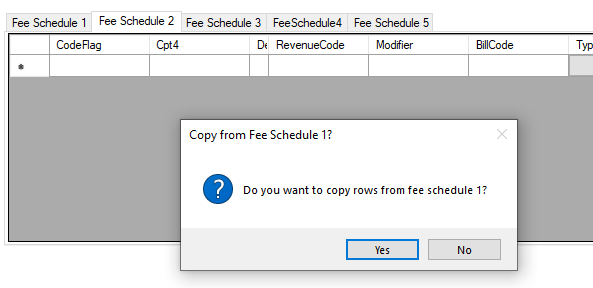
When finished adding lines for Fee Schedule 1, go to other Fee Schedule tabs. If there are no lines on the other Fee Schedule, the app will prompt you to copy the lines from Fee Schedule 1. Click Yes to populate the tab from Fee Schedule 1. That fee schedule can then be edited for information specific to that schedule.
Once all information has been added/updated, click the Save button to save the CDM.